Skip to main contentSkip to footer
FoodThese royally-delicious buns are a perfect Easter treat
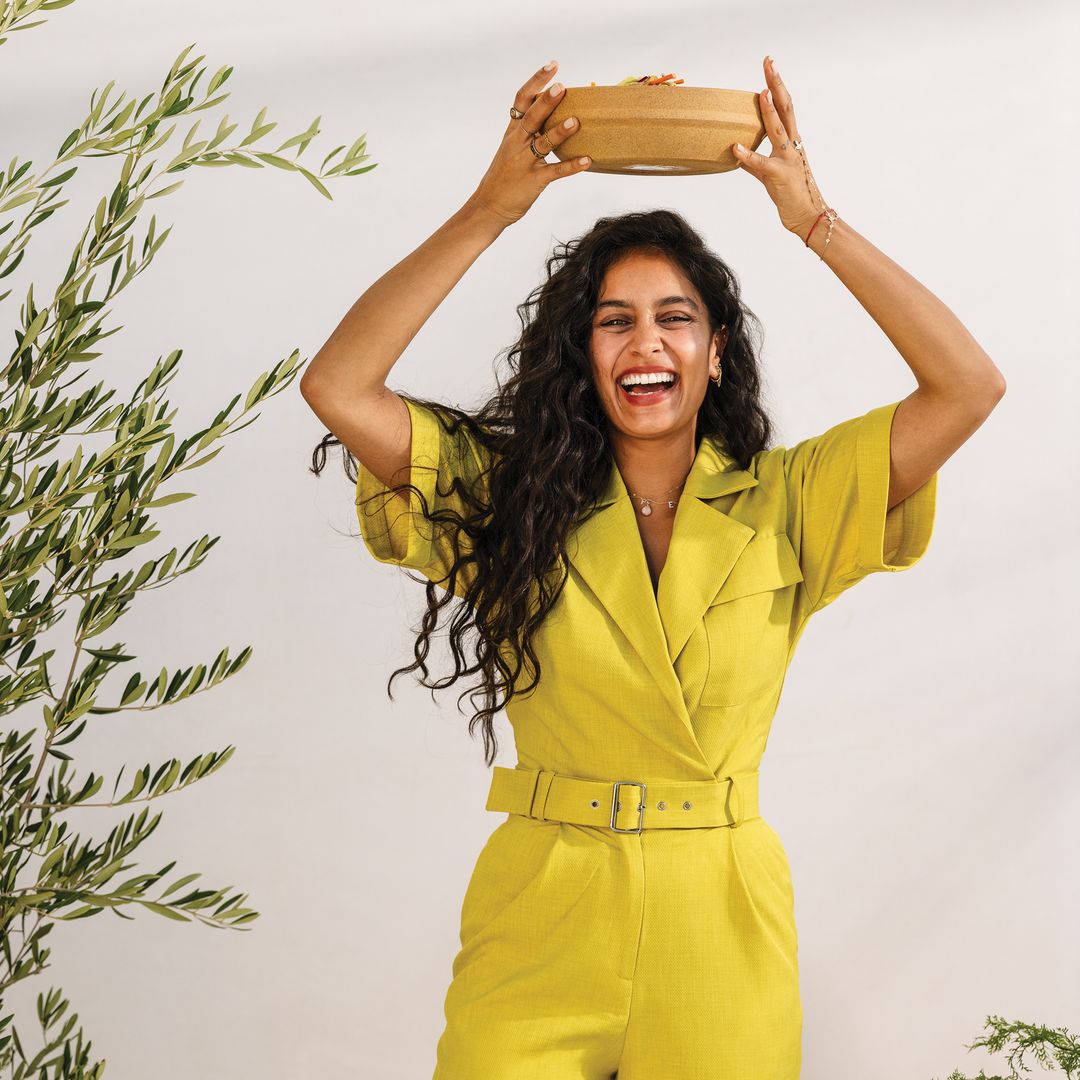
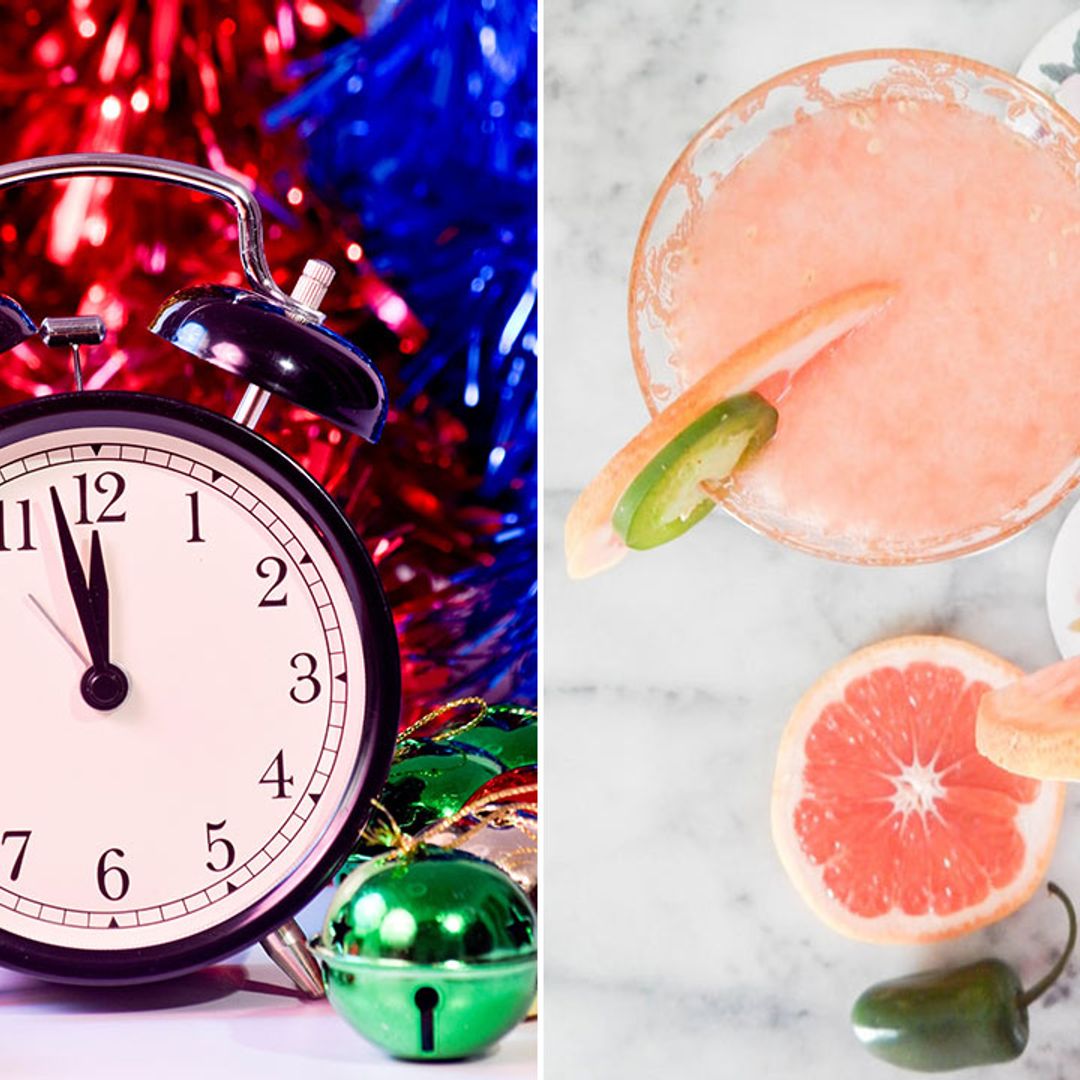
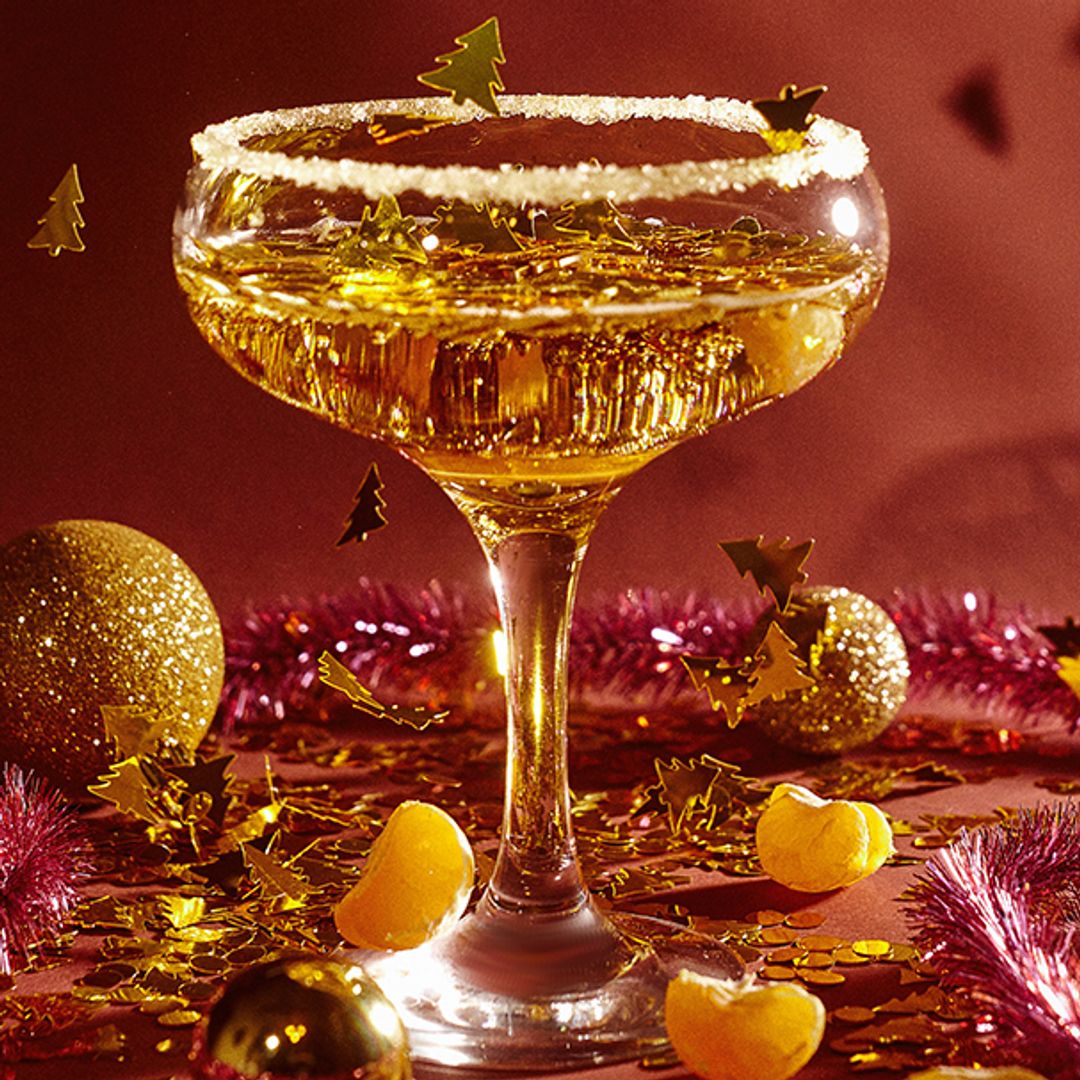
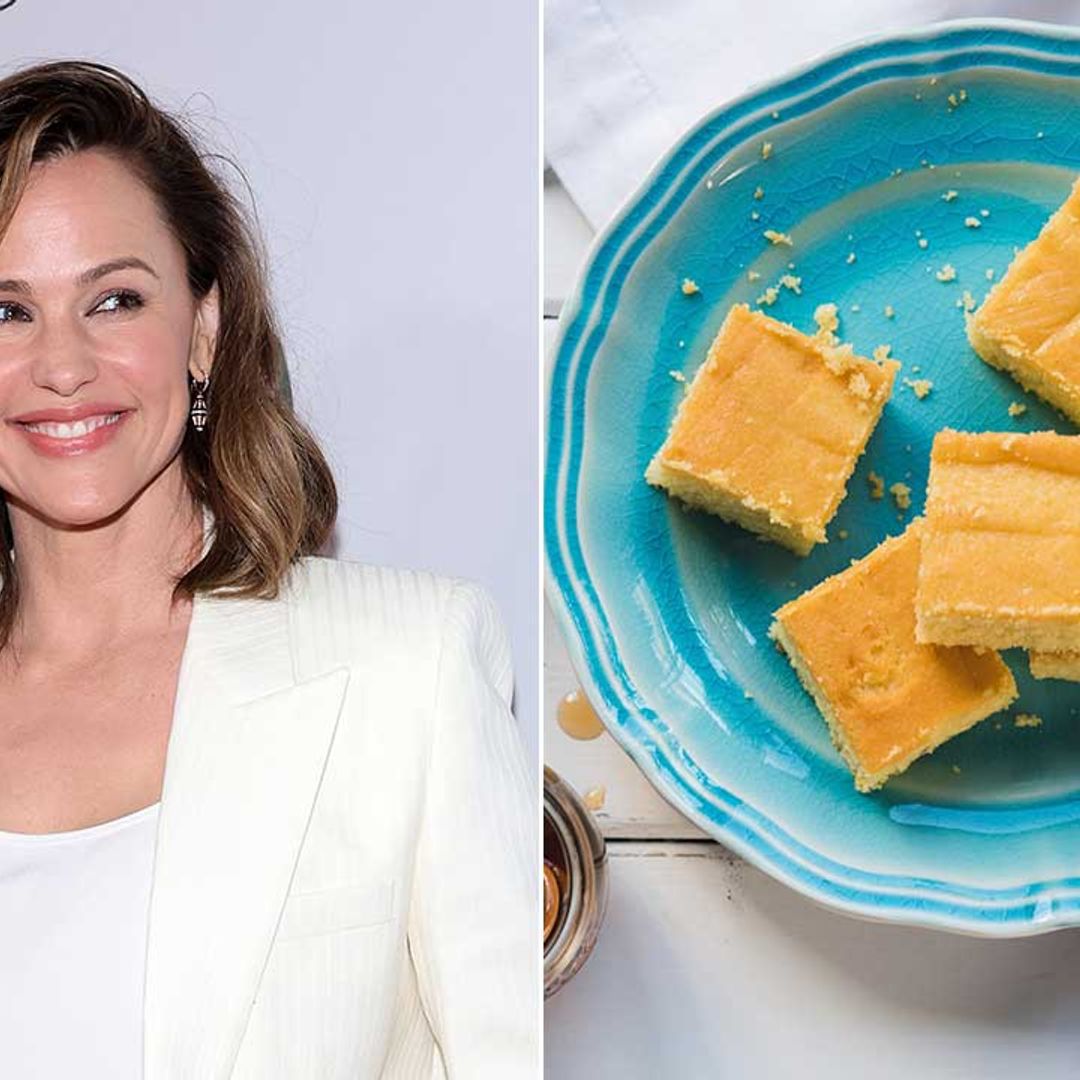
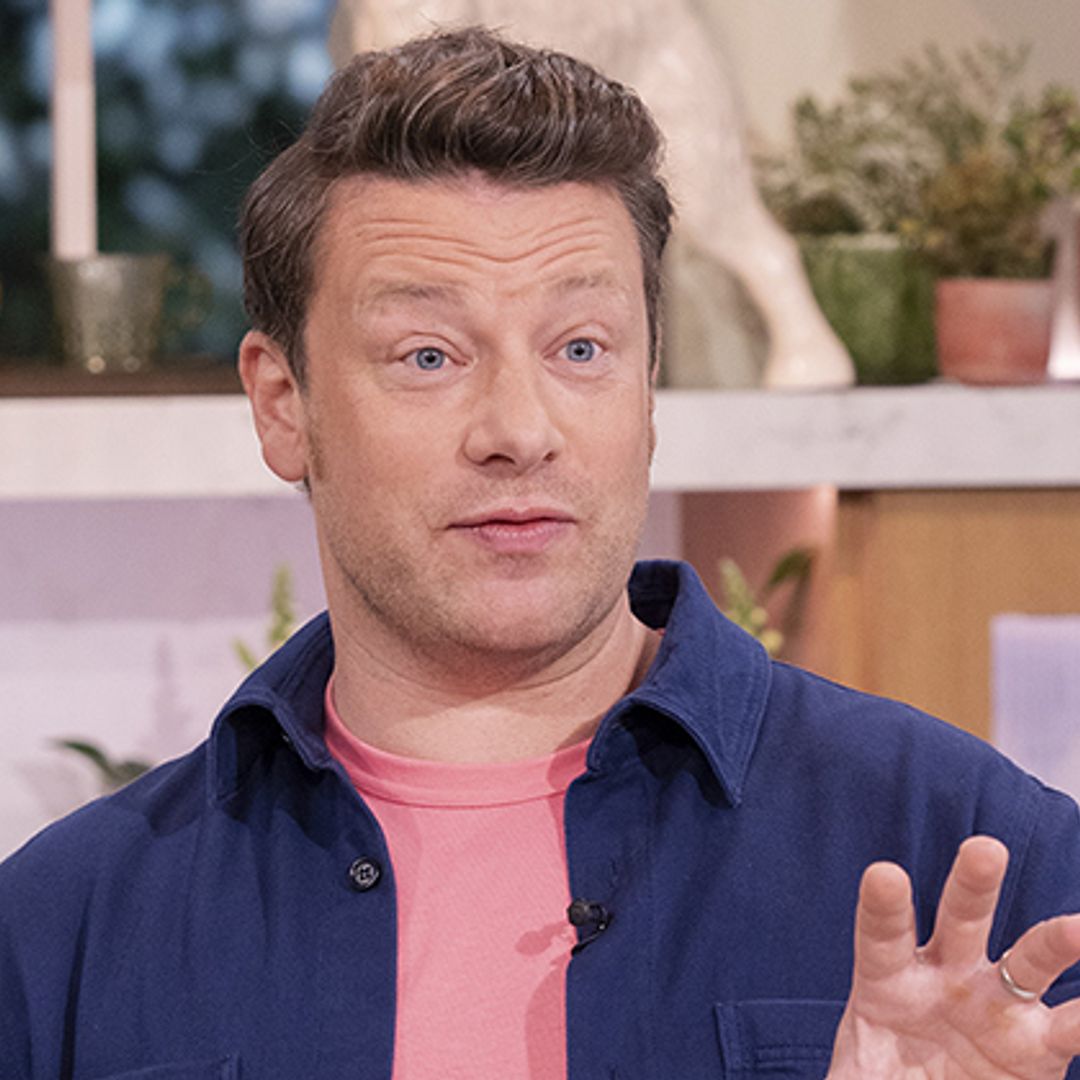
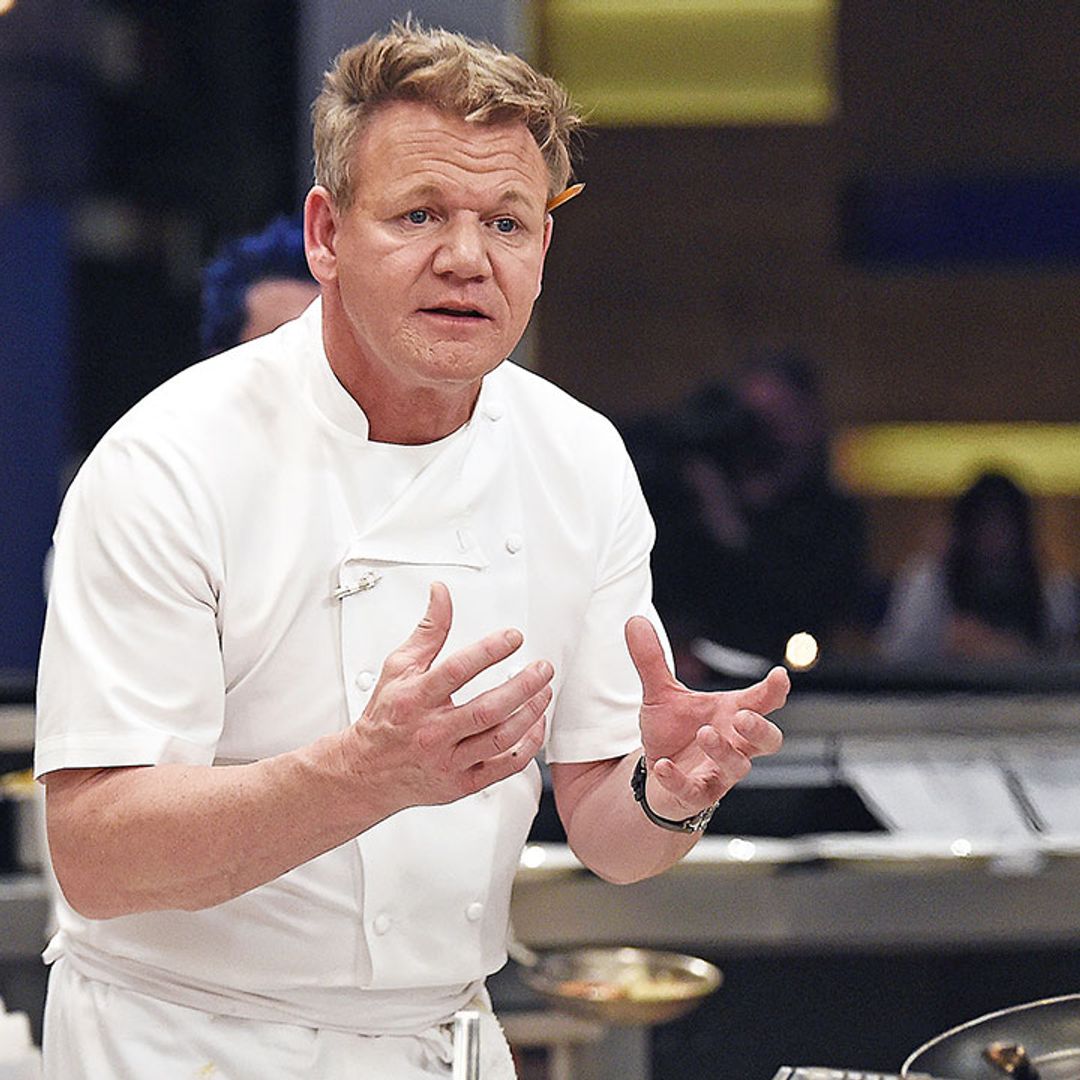
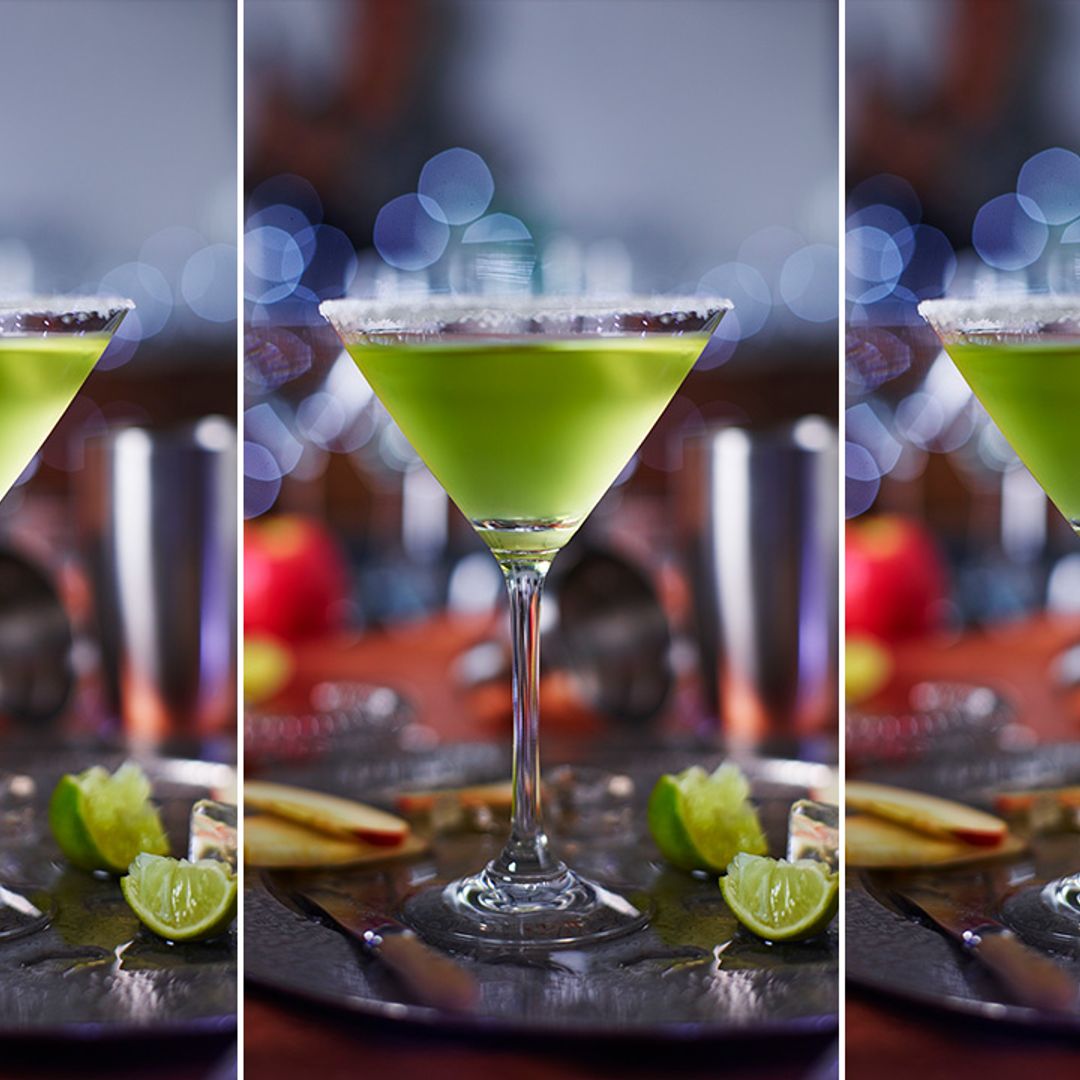
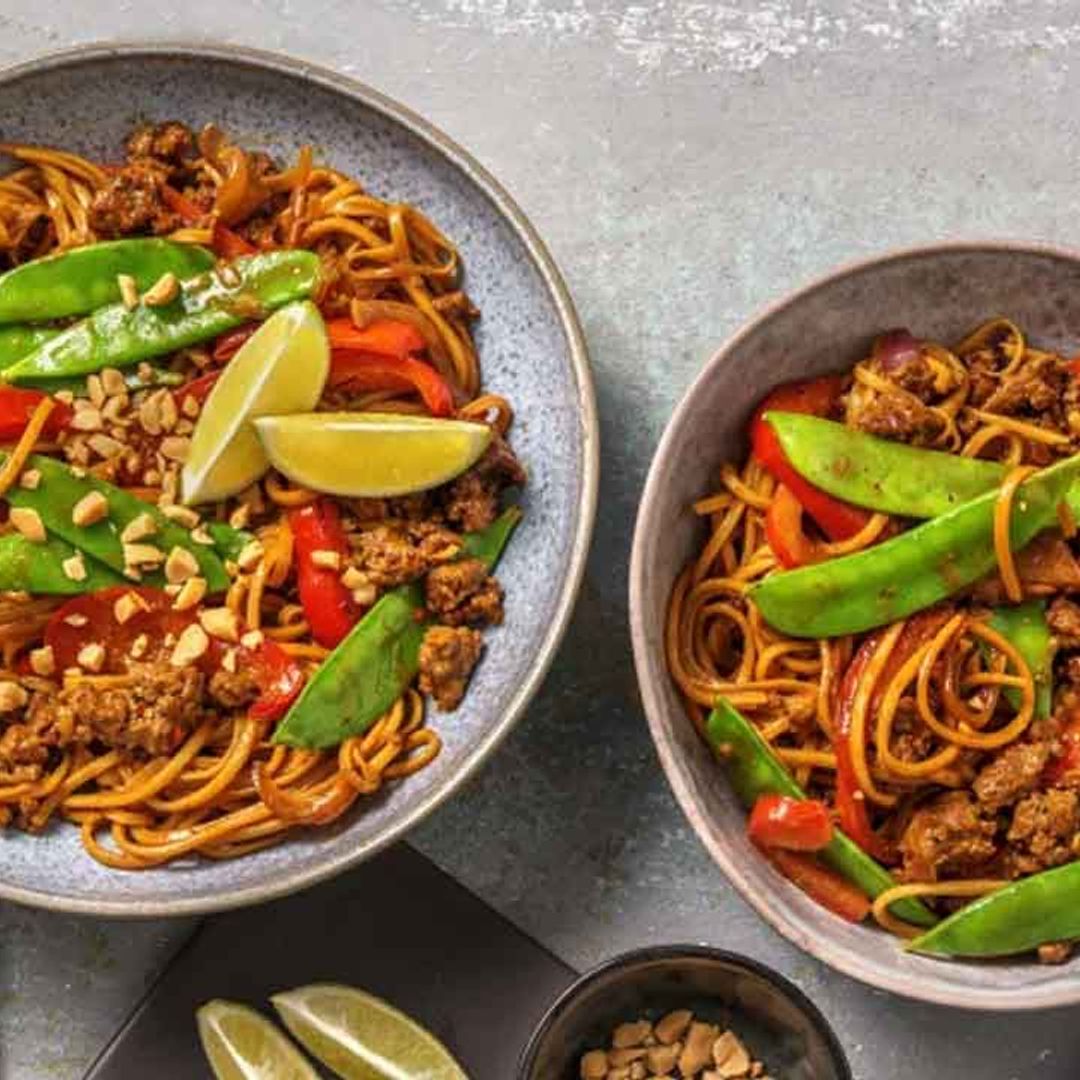
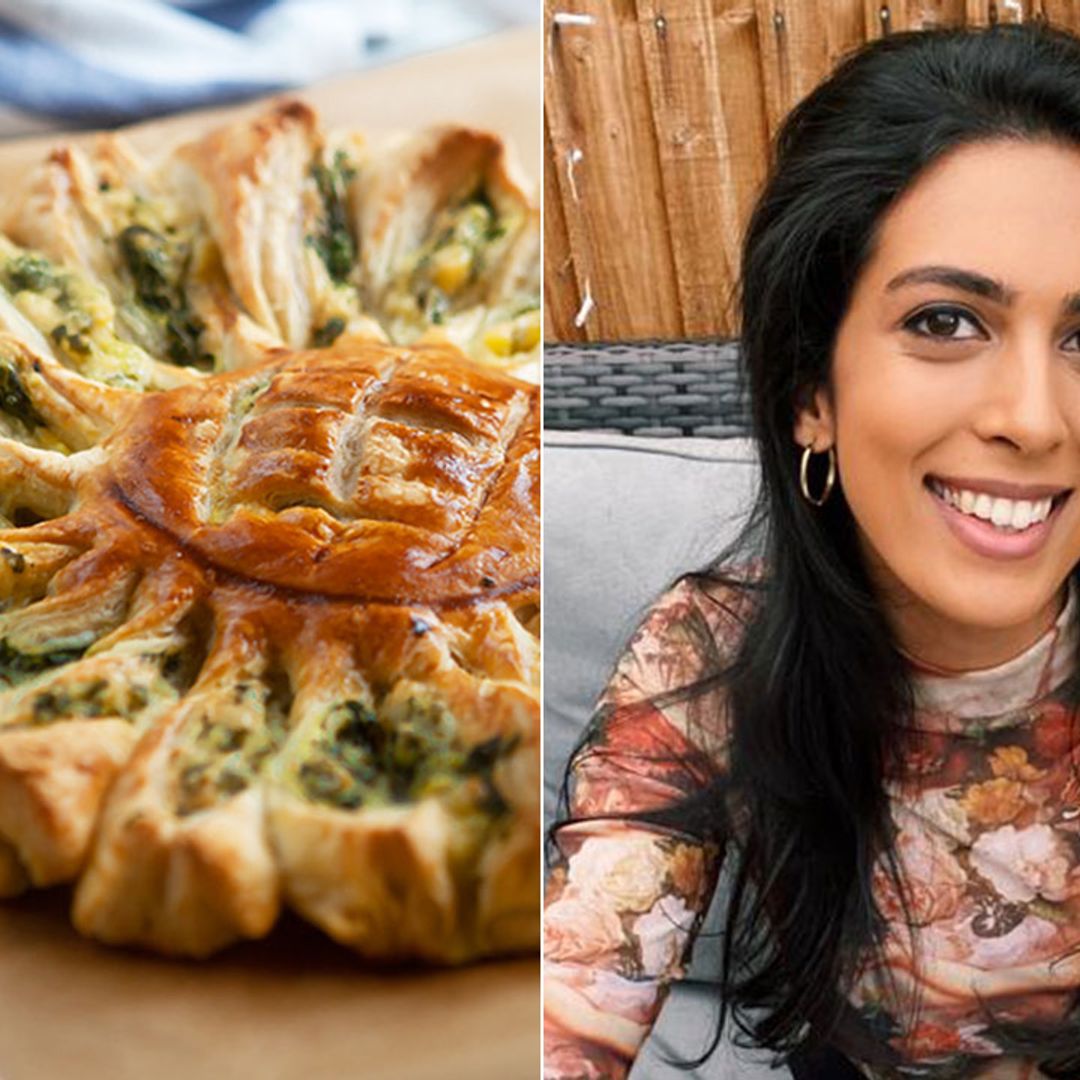
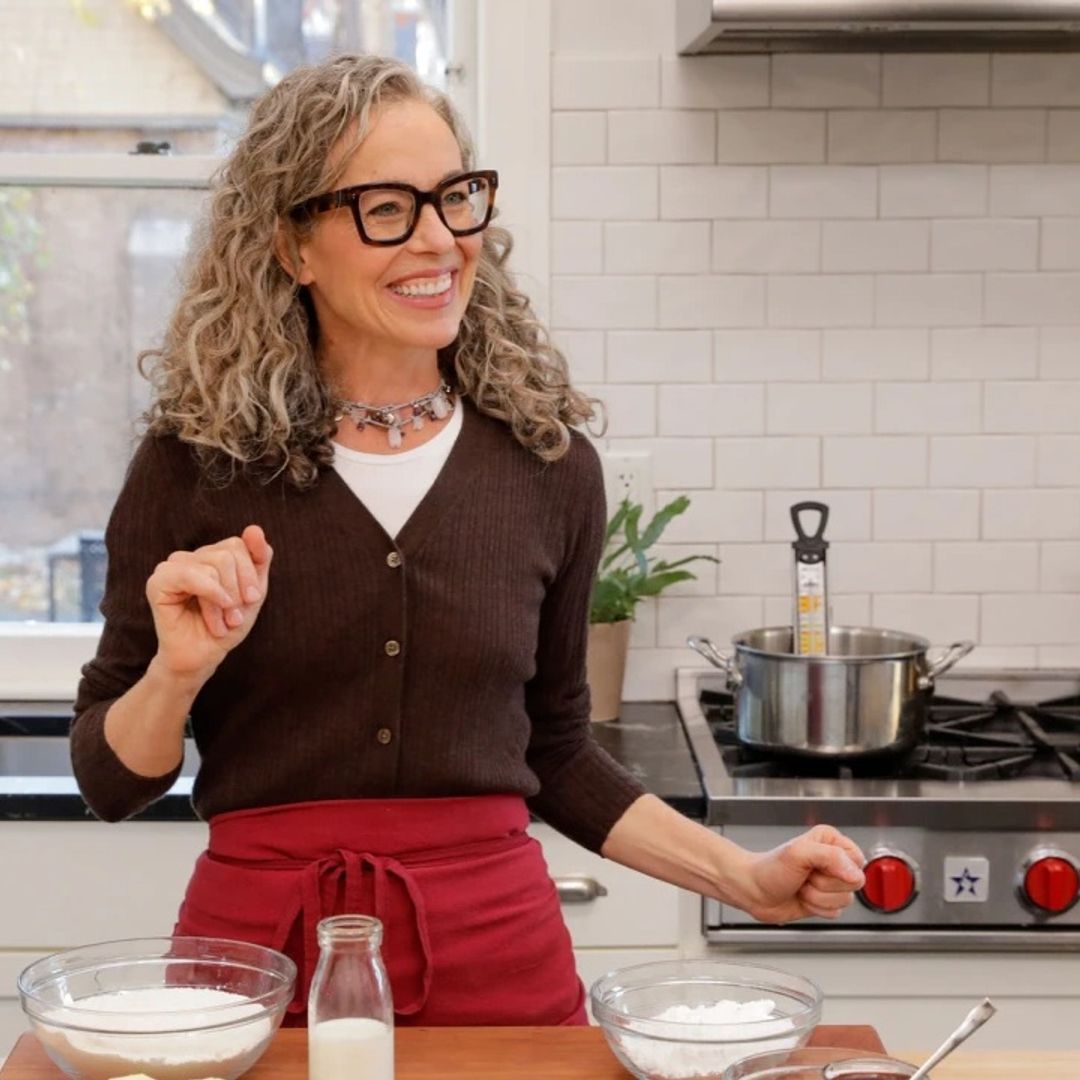
Jay Shetty's wife, ayurvedic cook and nutritionist Radhi Devlukia-Shetty shares her recipe for living a happy life Sweet or savoury? That is the question. Celebrate in style with these stunning drinks Discover how to make several imaginative festive tipples this party season Bookmark this easy recipe ASAP The celebrity chef has whipped up something very special this Christmas Why not vamp your mince pies? The celebrity chef's recipes are to die for These cookies are so moreish... The 13 going on 30 star shared her family recipe... The Jamie's Five Ingredient Meals chef has a genius hack for making pasta sauce Royal-inspired cocktail recipes perfect for your coronation street party -
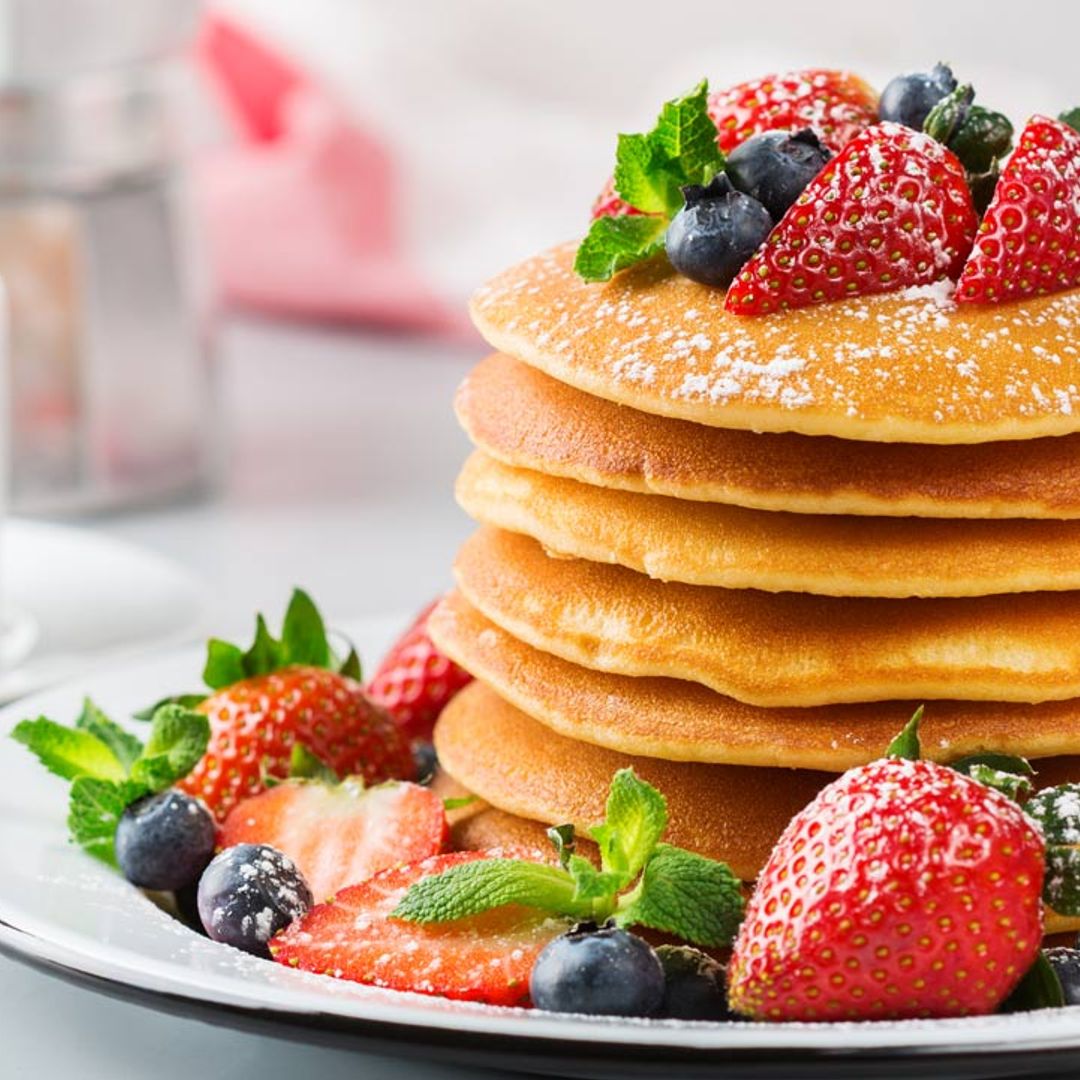
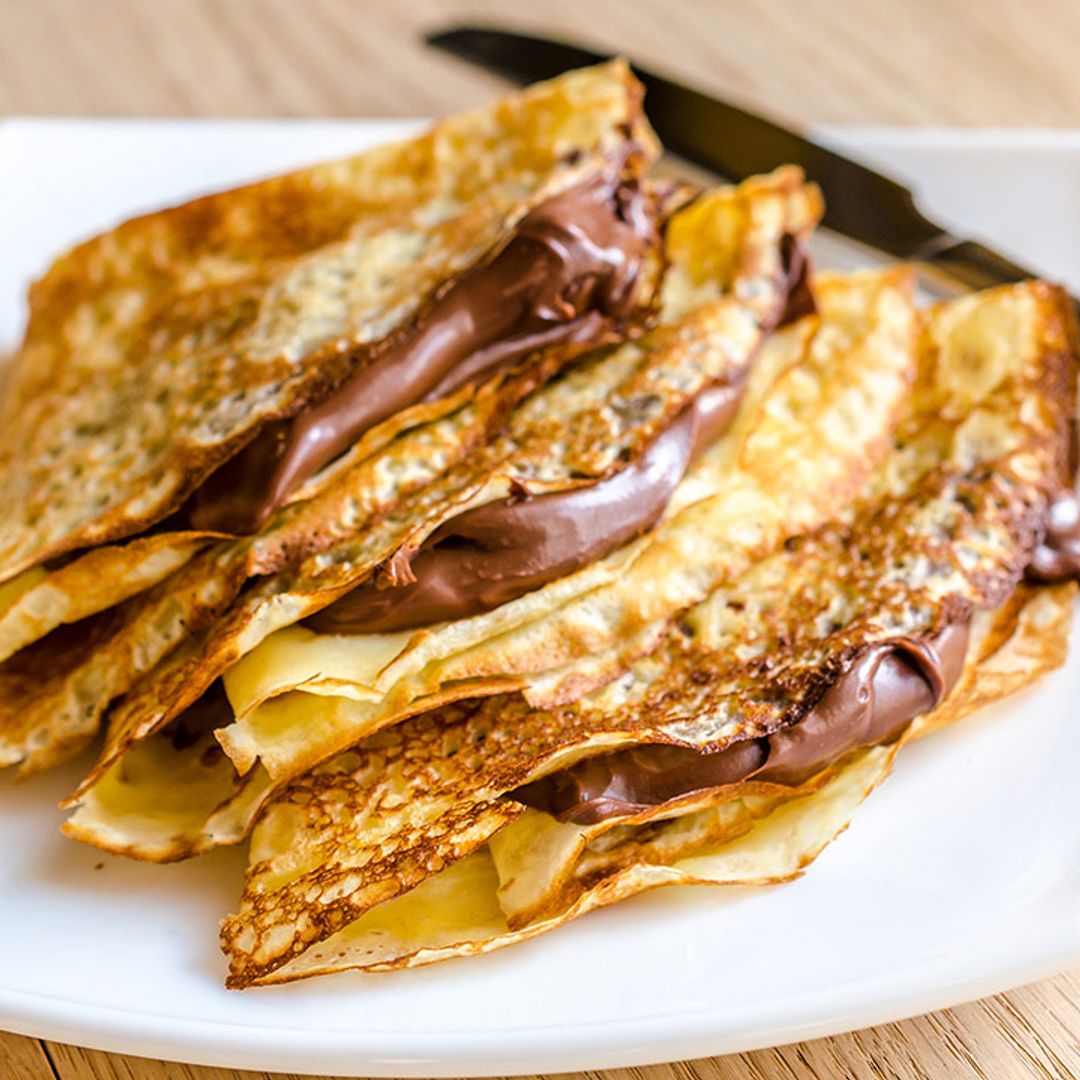
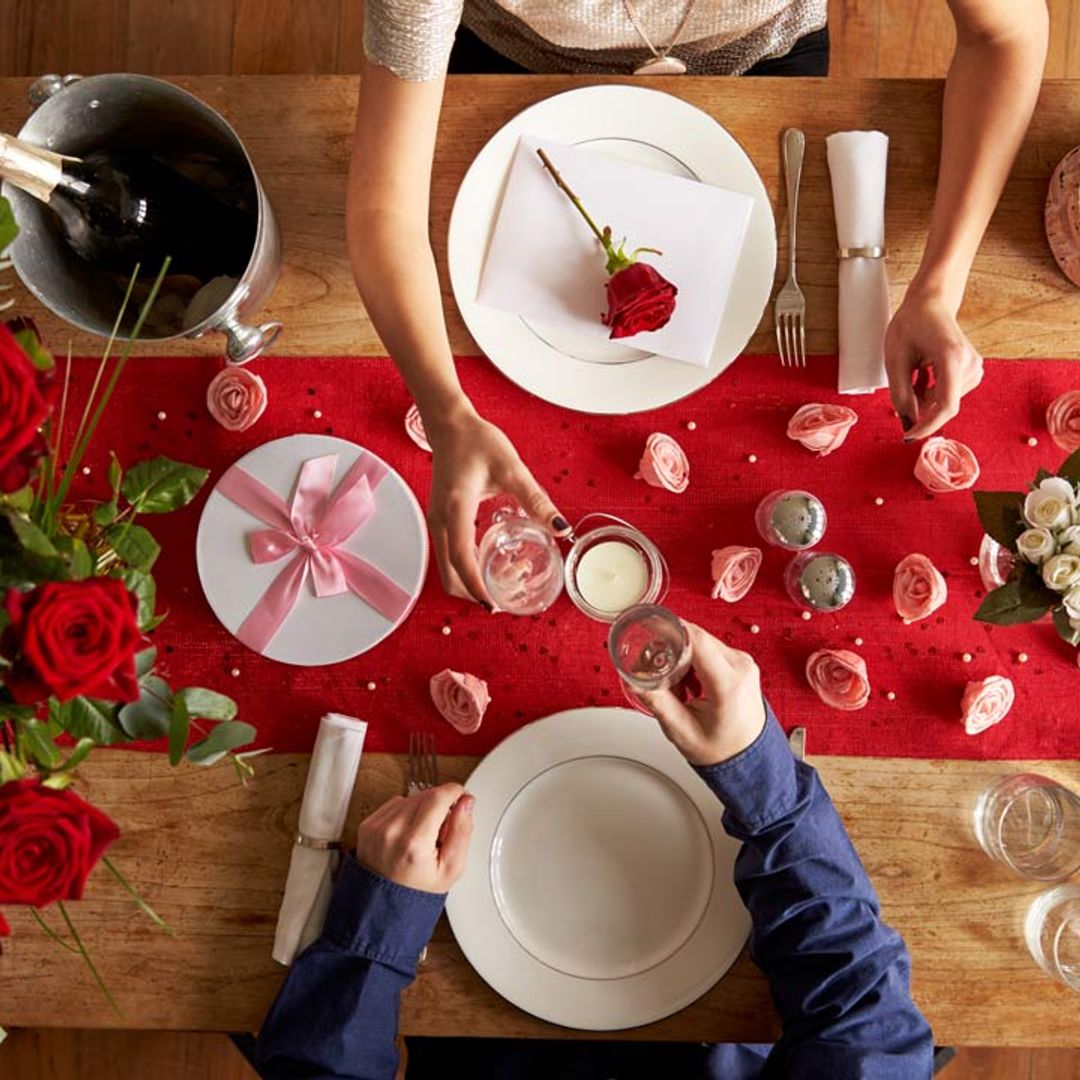
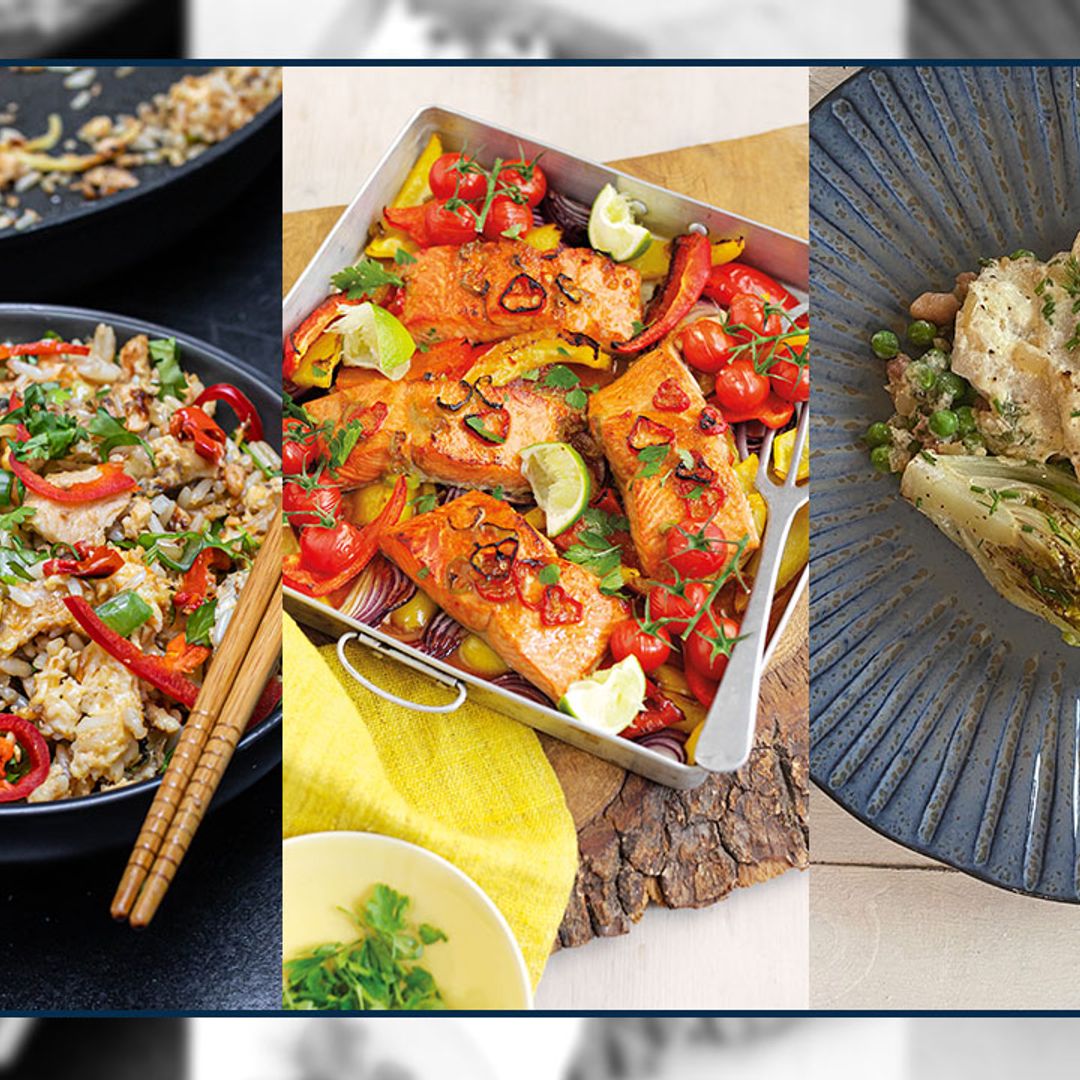
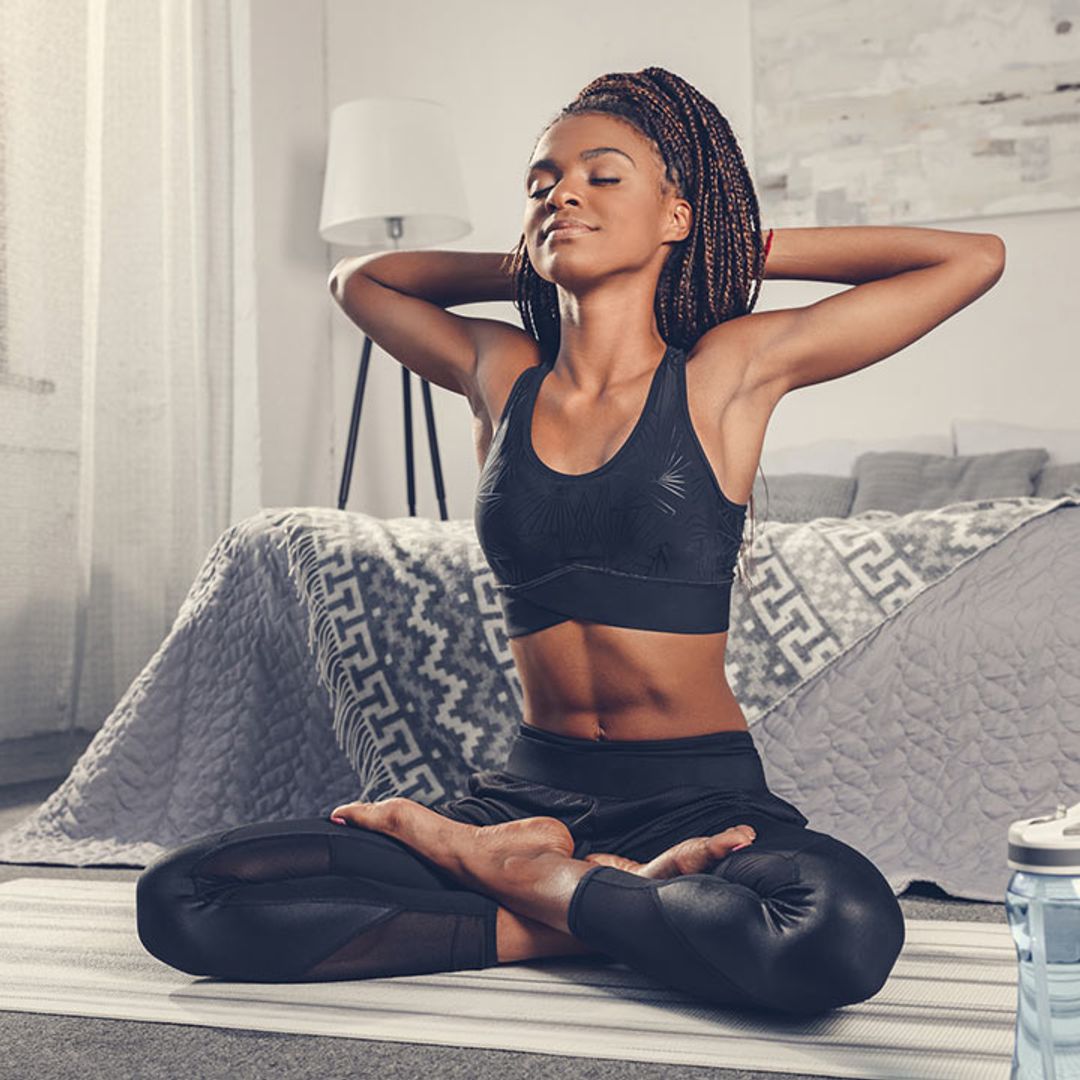
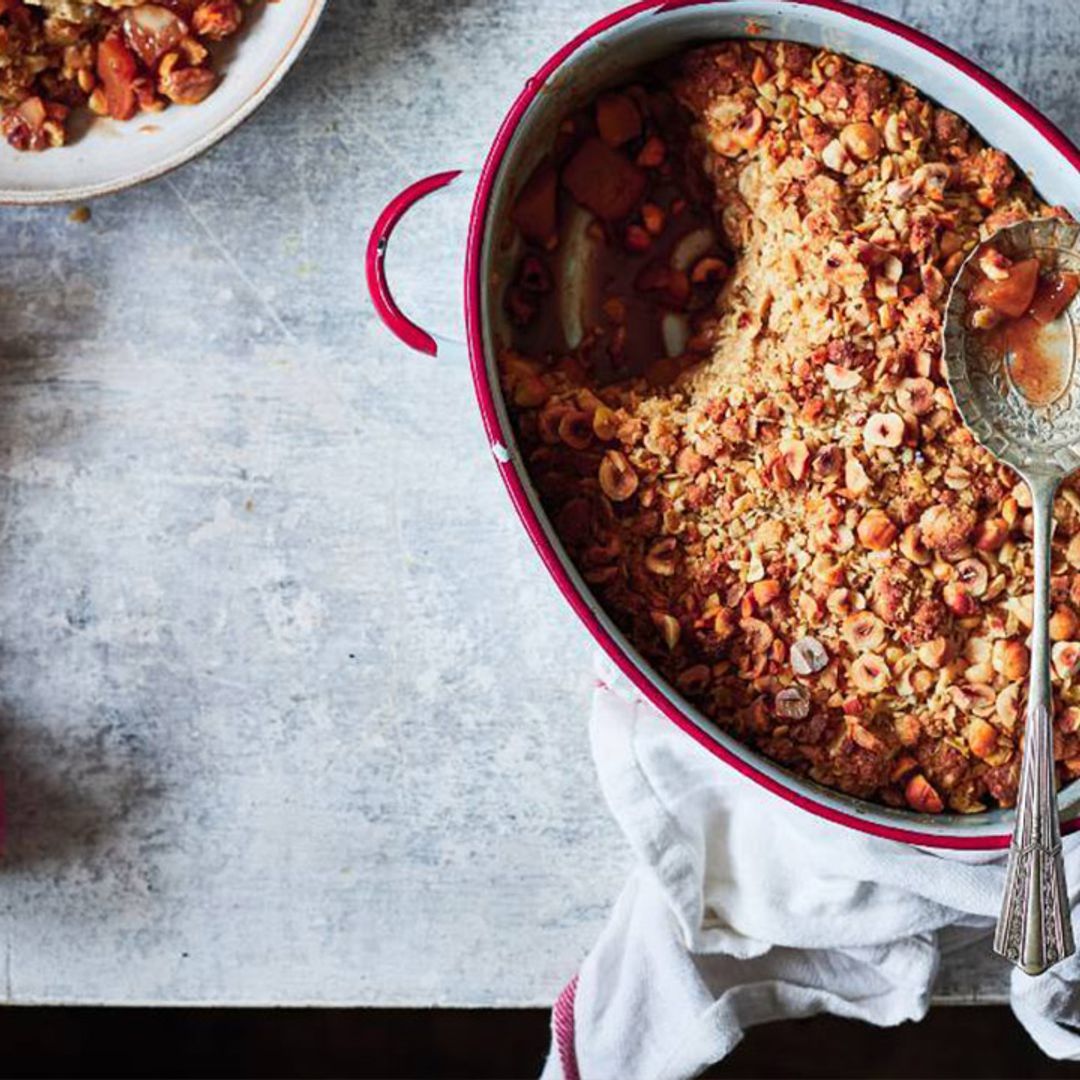
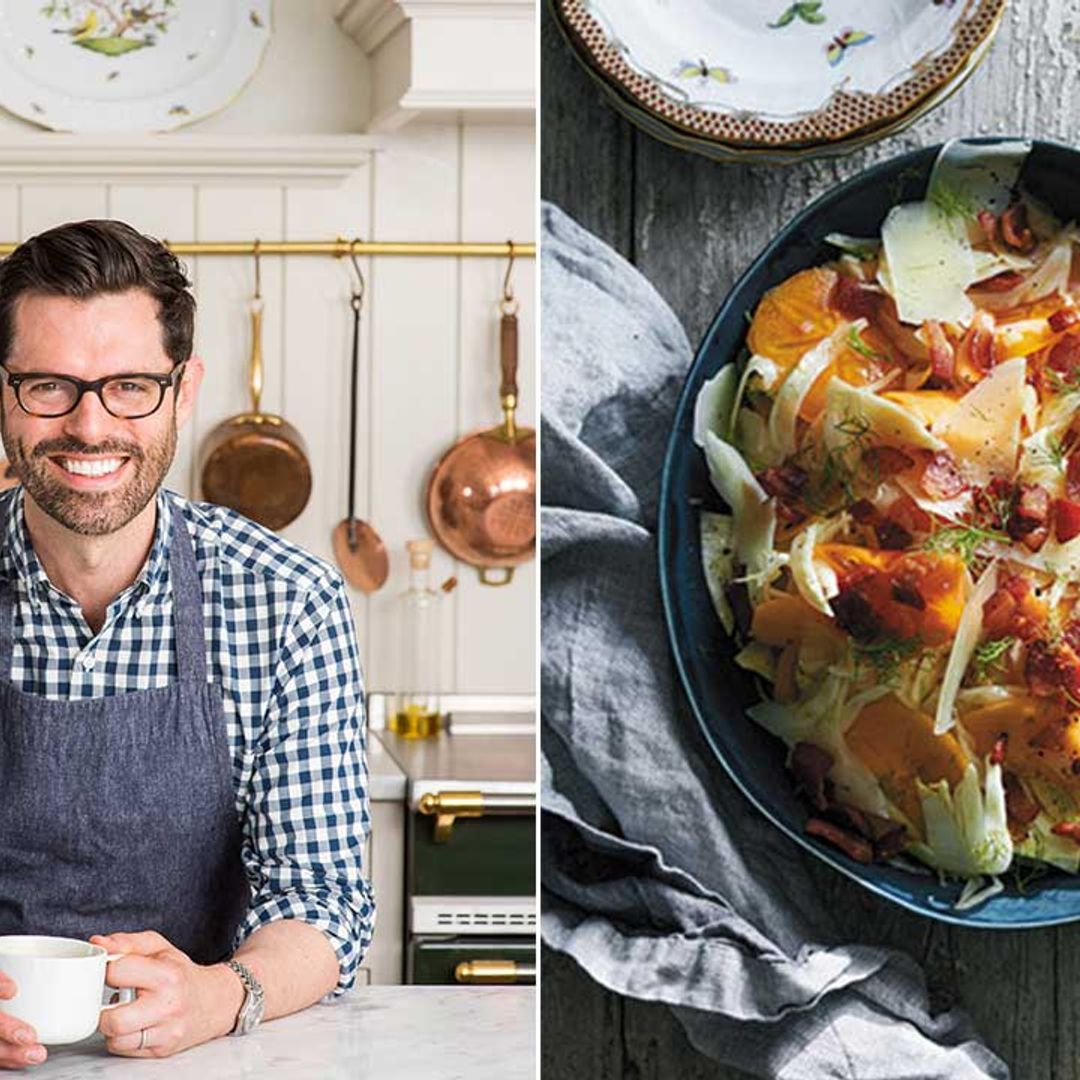
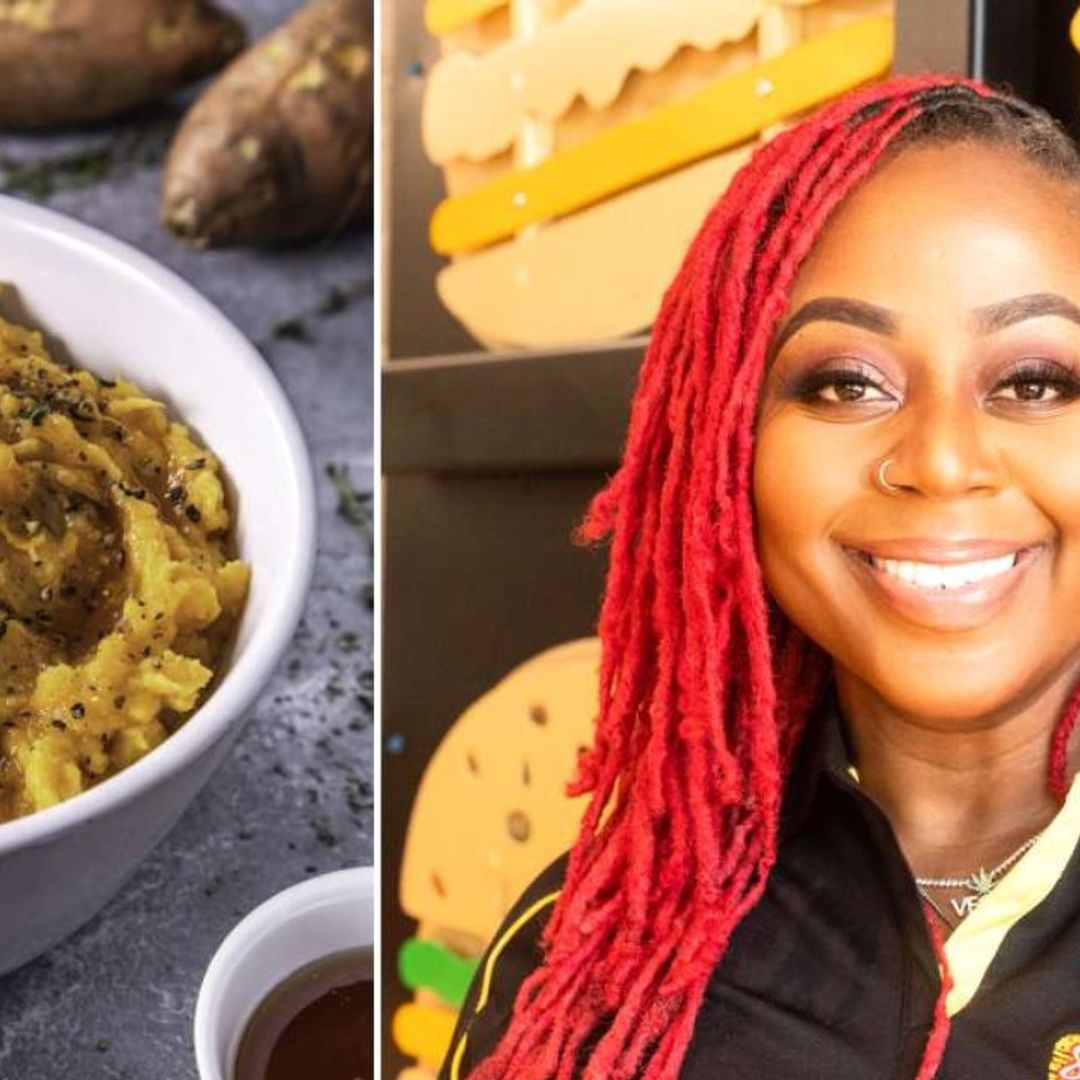
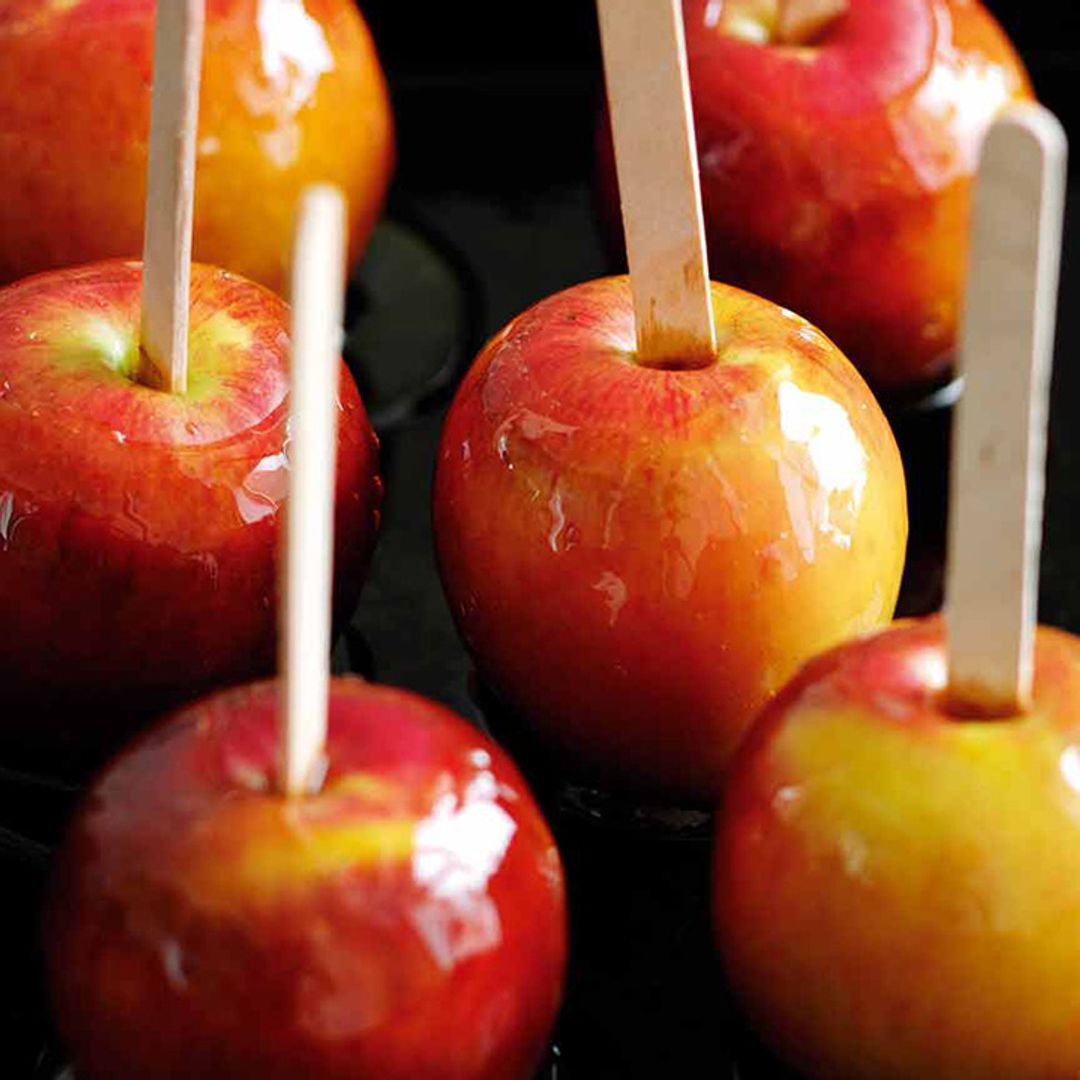
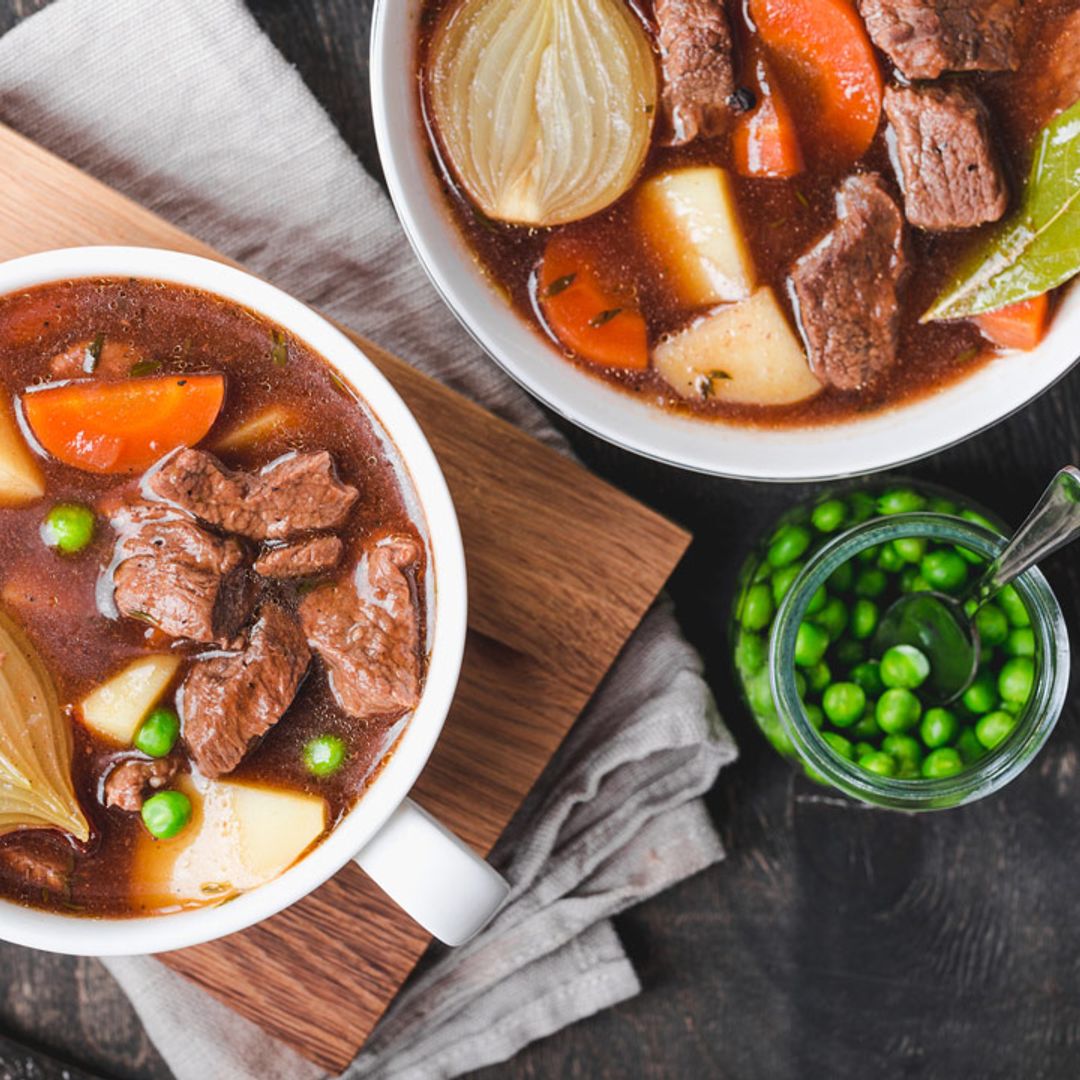
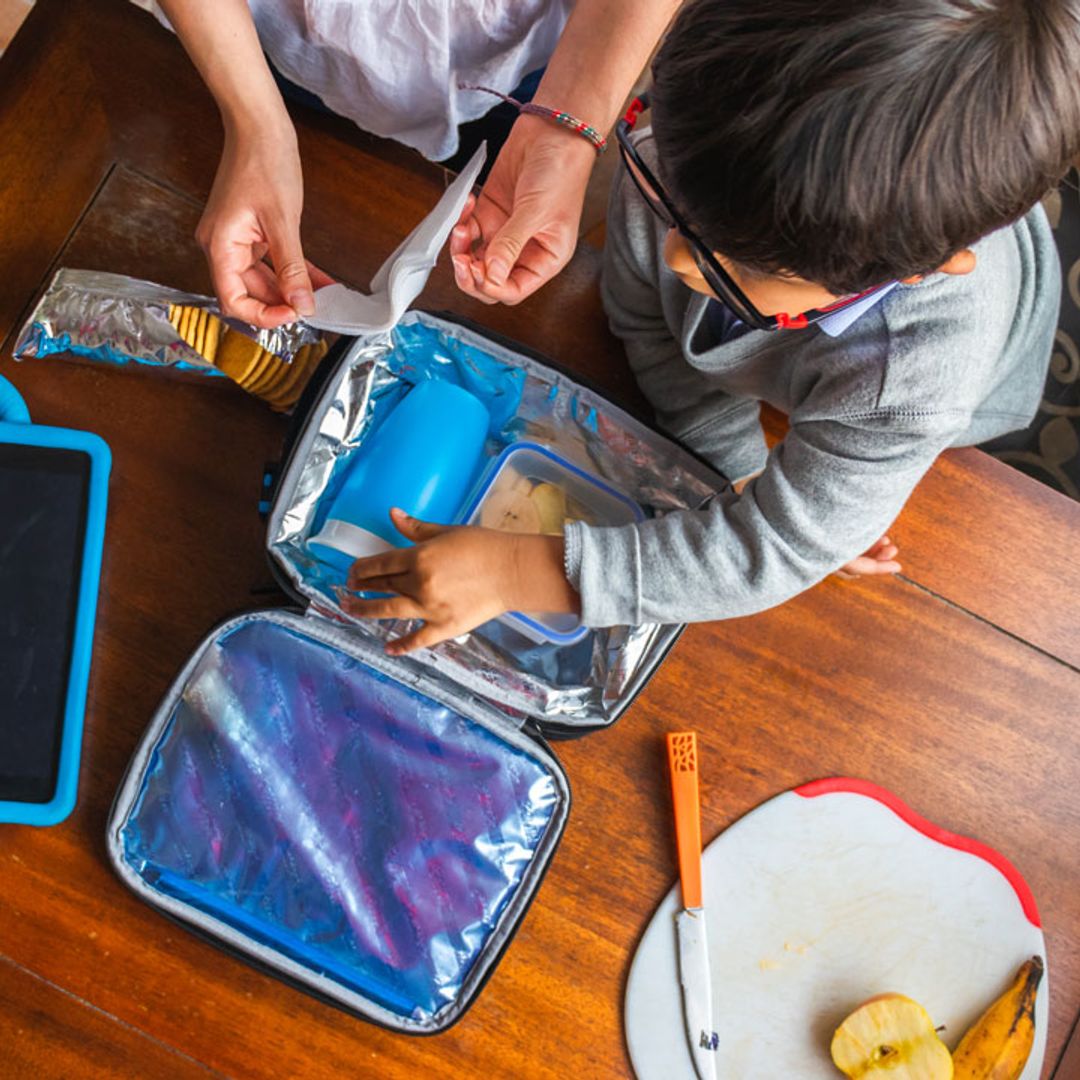
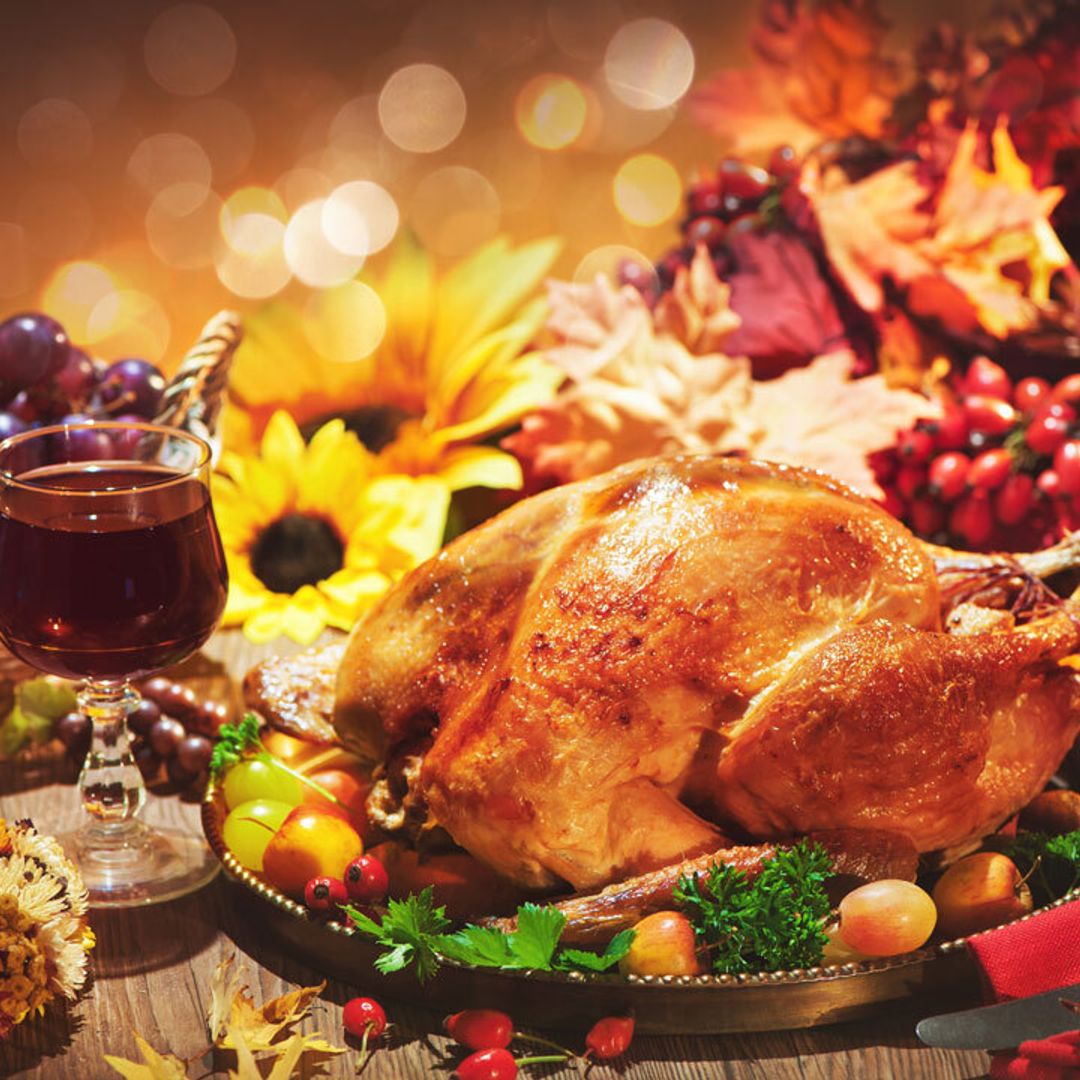
shaken, not stirred! The Duchess of Sussex's revealed her lemon olive oil cake recipe Discover this lighter alternative to your regular pancakes In need of some date night dinner ideas? Take a look In partnership with Alaska Seafood Get inspired to eat healthy meals with these tasty recipe books... Get ready to feel good in 2023… In partnership with Pink Lady® Darren McGrady shared a hearty winter risotto recipe fit for a king Keep calm cooking and manage Thanksgiving disasters with TV chef The acclaimed vegan chef has your side dishes sorted In partnership with Pink Lady® How to make your own toffee apples at home Discover these spook-tacular savoury recipes! Save big on HelloFresh with a new discount code... Warm yourself up this winter with these delicious recipes... Her Majesty's former chef gave an insight into her eating habits Nutritionist Rebecca Stevens shares expert advice Are you looking for something quick to prepare for after-school dinners? This Cardiff mum's recipes feed a family of four Grab a glass, it's cocktail o'clock The perfect summer recipe! In partnership with Pink Lady® apples